
The Ultimate Beginner's Guide to Choosing the Right Embroidery Stabilizers for Your Projects
- earabian
- Aug 26
- 3 min read
Embroidery can transform simple fabric into a work of art, but without the right stabilizer, your design might end up puckered, distorted, or even ruined. Choosing the correct stabilizer is essential for achieving clean, professional results. This guide explains the three main types of embroidery stabilizers—cut-away, tear-away, and wash-away—and helps you decide which one fits your fabric and project best.
What Is an Embroidery Stabilizer and Why Do You Need One?
An embroidery stabilizer is a material placed behind or under your fabric to support it during stitching. It prevents the fabric from stretching, puckering, or shifting as the needle moves rapidly. Without stabilizers, especially on stretchy or delicate fabrics, embroidery can look messy and uneven.
Stabilizers come in different types, each designed for specific fabrics and project needs. Using the wrong stabilizer can cause problems like thread breaks, fabric distortion, or difficulty removing the stabilizer after stitching.
Cut-Away Stabilizers: Strong Support for Stretchy and Delicate Fabrics
Cut-away stabilizers are made from a non-woven material that stays in place even after you trim away the excess around your design. They provide permanent support, making them ideal for stretchy fabrics like knits, jerseys, and fleece.
When to Use Cut-Away Stabilizers
Embroidering on t-shirts, sweatshirts, or activewear
Projects requiring long-lasting support, such as logos on uniforms
Fabrics that stretch or pull easily
How to Use Cut-Away Stabilizers
Hoop the stabilizer with your fabric on top.
Stitch your design.
After stitching, carefully trim the stabilizer close to the embroidery without cutting the threads.
Pros and Cons
Pros: Provides strong, permanent support; prevents distortion on stretchy fabrics.
Cons: Leaves a stabilizer backing that remains on the garment; trimming can be time-consuming.
Tear-Away Stabilizers: Easy to Remove for Stable Fabrics
Tear-away stabilizers are firm but easy to remove by hand after stitching. They work best with stable, woven fabrics like cotton, denim, or canvas.
When to Use Tear-Away Stabilizers
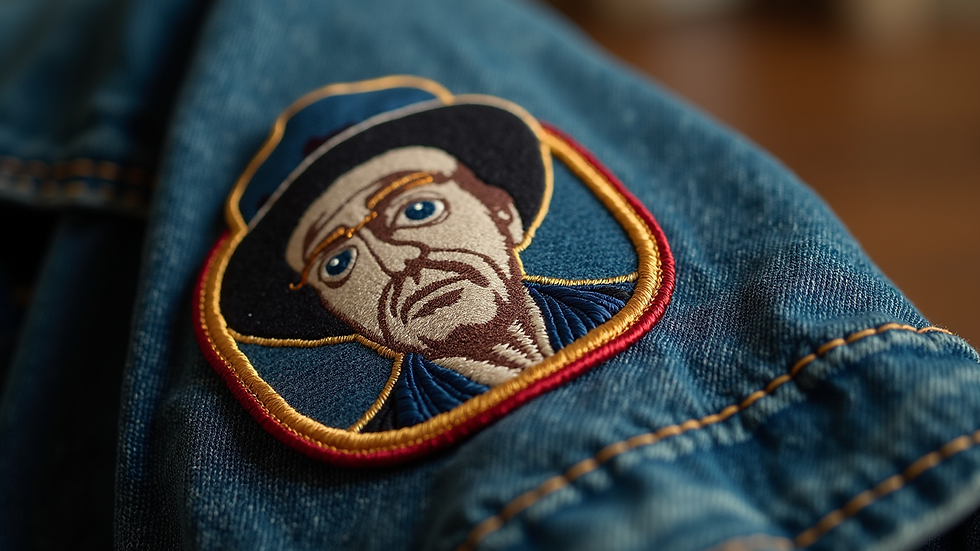
Embroidery on denim jackets, canvas bags, or cotton shirts
Projects where you want a clean back without leftover stabilizer
Designs with less dense stitching
How to Use Tear-Away Stabilizers
Hoop the fabric and stabilizer together.
Stitch your design.
Gently tear away the stabilizer from the back, starting at a corner.
Pros and Cons
Pros: Easy to remove; no residue left on fabric; good for stable fabrics.
Cons: Not suitable for stretchy or delicate fabrics; can cause puckering if fabric stretches.
Wash-Away Stabilizers: Perfect for Delicate or Sheer Fabrics
Wash-away stabilizers dissolve completely in water, leaving no trace behind. They are ideal for delicate fabrics like lace, organza, or lightweight cotton.
When to Use Wash-Away Stabilizers
Embroidering on sheer or delicate fabrics
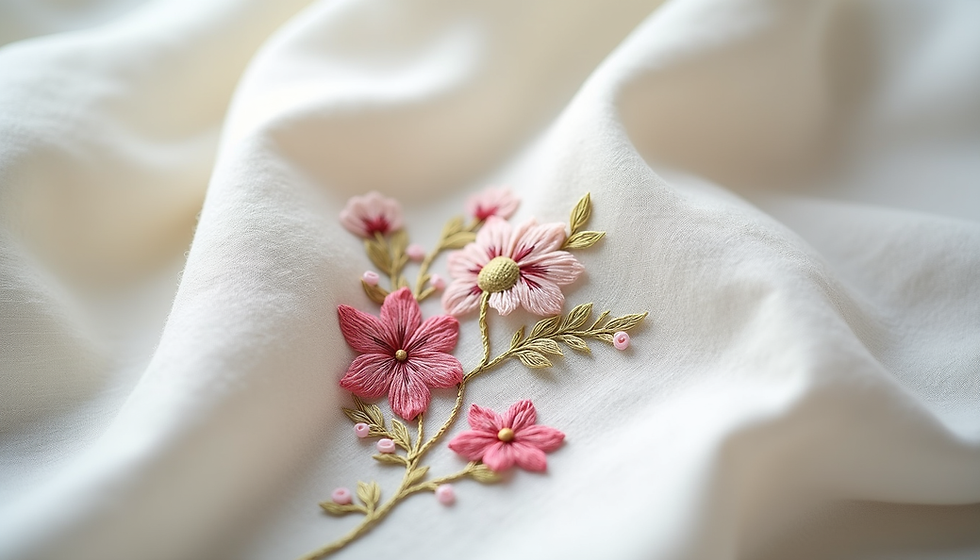
Projects requiring no stabilizer residue, such as heirloom embroidery
Designs with open or lace-like patterns
How to Use Wash-Away Stabilizers
Hoop the stabilizer with the fabric on top.
Stitch your design.
Rinse the fabric in water to dissolve the stabilizer.
Let the fabric dry flat.
Pros and Cons
Pros: Leaves no backing; perfect for delicate fabrics; creates a clean finish.
Cons: Not suitable for heavy or dense designs; requires extra care during washing.
How to Choose the Right Stabilizer for Your Project
Selecting the right stabilizer depends on your fabric type, design complexity, and the final use of your embroidered item. Here are some tips to help you decide:
Fabric Type: Use cut-away for stretchy fabrics, tear-away for stable fabrics, and wash-away for delicate or sheer fabrics.
Design Density: Dense designs need stronger stabilizers like cut-away; lighter designs can use tear-away or wash-away.
Project Use: For items that will be washed frequently, cut-away or wash-away stabilizers work best. Tear-away is better for items that won’t stretch or be washed often.
Ease of Removal: Tear-away stabilizers are easiest to remove by hand, while cut-away requires trimming, and wash-away needs rinsing.
Additional Tips for Successful Embroidery
Always test your stabilizer and fabric combination with a small design before starting your main project.
Use the correct needle and thread for your fabric to avoid damage.
Hoop your fabric and stabilizer tightly to prevent shifting during stitching.
Consider using a topping stabilizer on plush fabrics like terry cloth to prevent stitches from sinking.
Choosing the right stabilizer can make a big difference in the quality and durability of your embroidery. By understanding the strengths and uses of cut-away, tear-away, and wash-away stabilizers, you can confidently select the best option for your fabric and project.
Start experimenting with these stabilizers on your next embroidery project and see how much easier it is to achieve smooth, professional results. Happy stitching!

Comments